Everything You Need To Know To Make a Postcard
No matter if you need a thank you note, an invitation, or are simply sending an update to brighten a friend’s day, making your own postcard is an excellent choice. If you’ve already checked the store for postcards, chances are you didn’t find any or they were all emblazoned with local landmarks. As much as everyone likes to see Big Ben, it doesn’t say, “Thank you for the lovely wedding gift.”
Making your own postcard can be as simple or complex as you choose to make it. You can start with plain, store-bought cardstock and print a lovely picture on the front and leave things at that. Alternatively, you can get a little adventurous and experiment with glitter, string, decoupage, and paint.
No matter which method you choose, make sure to follow these guidelines to ensure that your creation is fit to go through the mail. Nothing is worse than having your homemade postcard shredded in a postal machine.
Postcard Rules and Regulations
If you’re creating a postcard, you probably want to send it through the postal service. To do that you have to follow a few simple guidelines:
Thickness – Postcards must have a thickness between .178 mm and .406 mm.
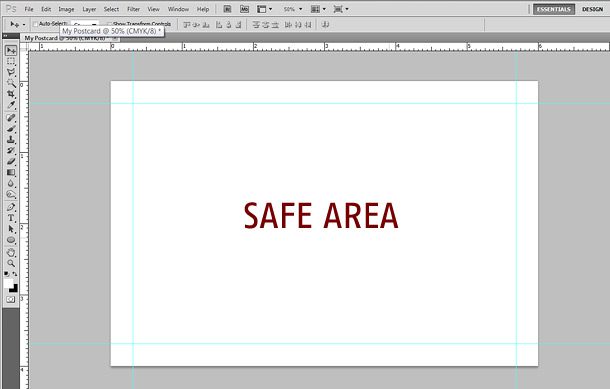
Shape – Postcards must be an even, rectangular shape. At a minimum, they must be 105 mm high and 148 mm long. At a maximum, they may be 235 mm long and 120 mm high. In any case, it is best to stay on the safe side and make your postcard a bit smaller than the maximum and a bit larger than the minimum. Always use a ruler and measure carefully.
Colors and Typography – A postcard may be any color as long as what is written on it, especially the address, is clear and easy to see. It is always best to leave the note side as free of embellishment as possible. Save your artistic talents for the cover.
How to Create the Base of Your Postcard
The first part of this process is choosing what sort of paper you want to use. The easiest thing to start with is standard cardstock. Given the guidelines above, this means that coated cardstock of either 270, 298, or 325, g/m2 is best. Keep in mind that uncoated or “vellum” cardstock may have a less uniform thickness. If you don’t have any postcard-worthy paper on hand, consider upcycling some of your junk mail.
If the paper you are using isn’t thick enough, it’s possible to glue two sheets together. If you choose this route, the best process is to glue the sheets together and then let them sit under a book or other heavy, flat object overnight. This will allow plenty of time for the glue to dry and keep the paper from wrinkling.
Once you have the paper you want to use, it’s time to measure the size you want. Use a ruler and a pen or pencil to mark the size. Double check that all of the measurements are correct and each line is straight. Cut on the lines with scissors or a paper cutter. Now you have a suitable base for your postcard. If you plan to experiment with a few different designs, it may be a good idea to make a few more just in case.
Set Up The Note and Address Side
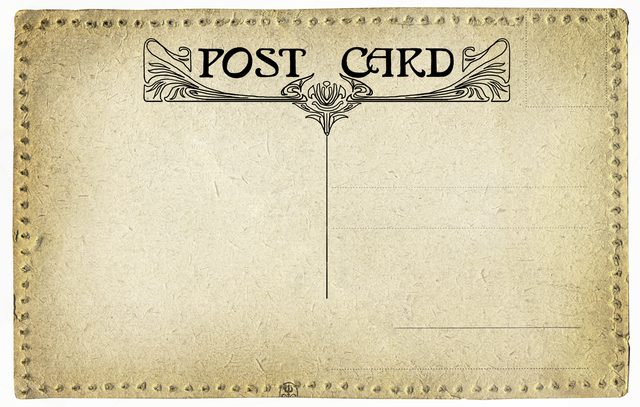
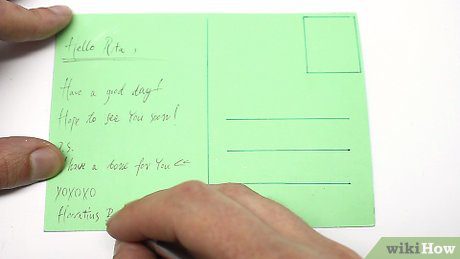
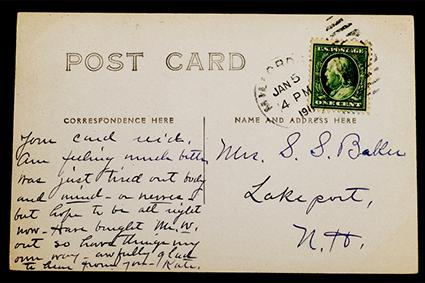
This is an important part to get right. On the “note” side of your postcard, draw a line down the center. Make sure to measure and find the middle exactly, marking a point on both edges before drawing the line. Then make three equal line on the lower portion of the right side. Remember, the upper part of the right side is where the stamp goes. The left side is where you will be writing your note later.
Design Your Card’s Cover
This is the fun part. On the cover of your card, you can let your creativity shine. There are, however, some restrictions. Most of these limitations are common sense, but a few are easy to overlook and will result in your postcard being rejected at the post office. To ensure that everything goes smoothly, please keep these tips in mind.
What You Should Keep In Mind Before You Start

- Keep Your Design “Safe for Work” or PG-13 at Most – Your card is going to be seen by a lot of postal workers before it reaches its final destination. It may even be seen by a few neighbors going into it’s intended mailbox or slot.
- Keep Your Design Flat – In nearly all cases, postcards must be “machineable.” This means that they have to be designed to fit through the rollers of a postal machine. If your design has anything that could get caught or crushed, it will be rejected.
- Glue Everything Well – Glue is an essential thing for every postcard maker to have. Use it liberally. You don’t want any part of your postcard to get caught in a machine or fall off. After your card is created and the glue has dried you may want to use a sealant, discussed below.
Supplies and Techniques You Can Try
- Paint, Markers, Pencils – These traditional media are great and can be used without a sealant in most cases.
- Pastels (Liquid or Oil) and Charcoal – Slightly less traditional art media but these can give a postcard a unique, creative touch. If you plan on using these, however, do not neglect to seal the front of your postcard. If you do and the postcard is accepted, the recipient will be left with a smudgy mess rather than a work of art.
- Printing Directly to the Card – The easiest way to make a card with impact. Printing your own card can be the easiest method on this list, too. Make sure to print before you cut your paper as most printers aren’t equipped to deal with postcard-sized sheets.
- Glitter – If you choose to use glitter, please use a sealant. No one likes loose glitter in every situation, postal employees included.
- Washi Tape and Stickers – Washi tape (decorative masking tape or “sticker tape”) and stickers make it easy for anyone to personalize their own postcard. You can even use this medium with store-bought postcards.
- Decoupage and Applique – Cutting out pictures from magazines, books, printable, or even advertisements can create stunning postcards. Use your glue liberally and make sure every edge is flat before mailing.
- Fabric, Ribbon and String Art – As long as it can be pressed flat, nothing is stopping you from creating a beautiful bow or other ribbon creation.
Supplies You Should Avoid
Rhinestones or Spikes – Rhinestones are likely to fall off, get crushed, or otherwise cause your postcard to be too thick to mail without incurring additional fees.
Any Form of Food – Food attracts pests. Any use of food on your card may also lead to damp or mold.
Lacquer, Seal, or Clear Coat – Finishing Your Card
The sealant you choose for the cover of your card depends on what you’ve used to print it. In some cases, such as decoupage, you may not need a sealant. In other situations, it may be a necessary element to seal down loose particles, like glitter. Be sure that whatever sealant you choose is given plenty of time to dry and it’s put on too thickly.
Write Your Message
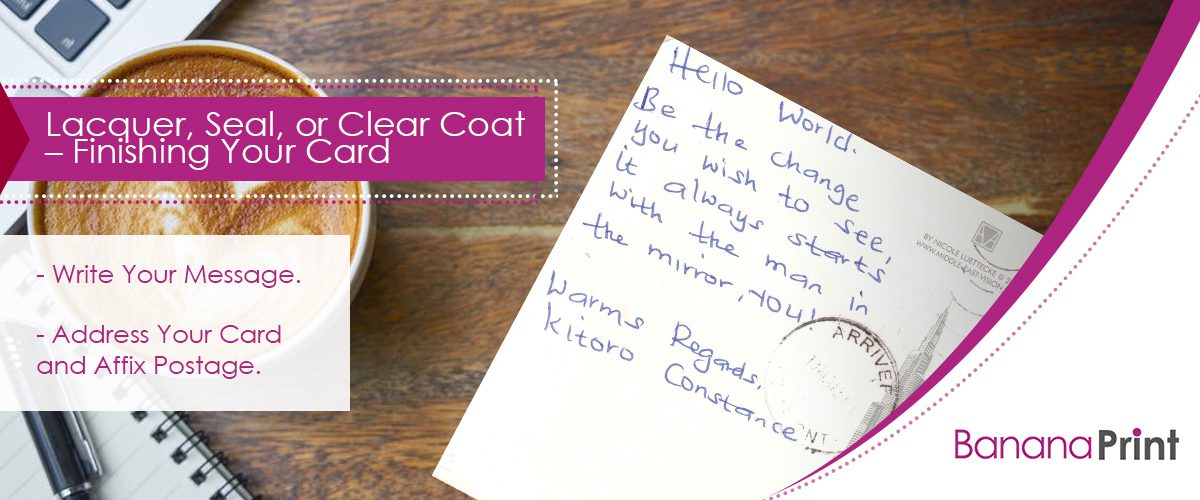
Postcards are meant to be straight to the point. The space you have to write your message is short. If you have a lot to say, practice writing your message on another sheet of paper before transcribing it to your postcard. This can also help you avoid unsightly eraser marks.
In all cases, make sure that you don’t mind other people seeing or even reading your message. It’s not supposed to happen, but it is still likely. Treat any postcard message you right as if it were a public billboard. Further, make sure your message stays within the confines of the left, “note” side of your postcard.
Address Your Card and Affix Postage
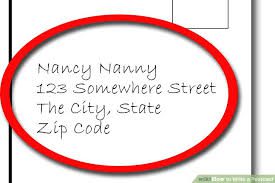
The final step is to address your card to its intended recipient. On the “note” side, write the name of the recipient on the first line and the address on the following two. Once you have looked your card over and are happy with the cover, note, and address, it’s time to head to the post office to send your card. As postcard postage rates and letter rates are different, you may choose to use a standard stamp, but by buying postage directly from the post office in the correct amount, you will save a little money.

